Showing posts with label what about crafting. Show all posts

December 9, 2012

December crafting

/// Christmas crafting time \\\


/// beautiful deer die cuts \\\


///baker's twine love \\\


/// handmade tags for my baking business \\\
/// I only bake for local family and friends \\\


/// my little December specials menu \\\


/// sweet little deer with bakery twine bow...precious \\\


/// Here's a peak at just some of the pies I made for my business in November. \\\ 
/// This was my very first sale for Sweet Mamma's Pies & Pastries. \\\


July 13, 2012

Summer Activities with the kids, Episode 2, Handmade Journals


I am in love with journals...{and scrapbook supplies}.  Actually I just love journals....period! I love the journal section at the book store!  I usually wish I could have all of them! What is it that attracts me to these pretty books with blank pages? I'm not sure...maybe it's the possibility of what is yet to be written or created. 

Since I cannot afford to buy every adorable journal at the book store, I thought I'd try my hand at making some. They are completely made from scratch...hand sewn, the whole nine yards. I up-cycled thin cardboard from another project for the front and back of the journals, used scrapbook paper to decorate, and embroidery floss to sew the pages together. The blank pages are made from plain white card stock. When needed, I used Elmer's clear school glue. 

Just a quick note here: this started out as a project with my youngest son. He was totally into it until something went wrong and he got a little frustrated. He's 10 years old and completely capable of making one of these journals...but I just don't think he was in the mood for pressing on, this particular day. However, I still wanted to keep the title to my post as "summer activities with the kids" for any of you out there who have kids that would be interested in making a journal. It is such a great summertime activity! They could make a bird journal, or a sketch pad....or just a writing journal for poems and such. Anyhow, I just thought you might be wondering where the photos of my kids were in this post....so now you know! :)

* * * * 

So, you're wondering how I put it all together, aren't ya? Well, here's my secret...I watched this great tutorial
on Youtube...she does a great job of explaining and showing every detail of how to make a simple, basic, journal. Once, you get the basic idea, you can just run with it!

* * * * 

I customized the inside front of this journal. Polly is my mother-in-law...I made this for her for her birthday which is coming up next week.  I used my giant foam alphabet stamps and brushed them with creamy white, acrylic craft paint. I am loving the look of it!


* * * * 

And...I'm just plain 'ole in love with the cover on this tiny doodle journal I made for myself. I cut this cute little sewing machine from some scrapbook paper. It's just adorable!


* * * *


Now I'm in the mode, I've been dreaming up all sizes and styles of journals I could make. I have so many pieces of gorgeous scrapbook paper just begging to be used. Now, I must get to work...so many ideas, so little time!

* * * * 


Do you like journals? 
Do you keep a journal?
I have several journals that I have been writing in since I was about 25 years old. Not to mention my diary that I still have from when I was a child and a pre-teen. Oh brother, the things I used to write! Hilarious! I intend to give all of my journals to my children when I am old and gray. I hope they will be interested in them. I try to write about daily things, but also, my thoughts on things get intertwined along the way. Hopefully they will get that it is a piece of history to their past.
Anyhow....happy journal making!!

* * * *

February 23, 2012

Oh darlin' . . . I've been busy!


O H,   T O  F I N I S H   A N   O L D   P R O J E C T  ! 
It's sooooo gratifying !
This month I've been catching up on unfinished projects . . .
and Sassy was the first thing I completed ! 
Yes ! 
I've been working on him, Sasquatch, on and off, for the last 18 months.
Oh the shame of it.
But . . . sweet Sassy !  
He's done . . . and I am loving him !
Your curious, aren't ya ?
You want to know if I believe in Sasquatch, don't ya ? ! !
Should I tell you ? 
Hmmmm.
No, I don't believe there are Sasquatch out in them there woods.
It's  fun.
It's  folklore-y.
It's kinda  scarey.
It's  mysterious.
And . . .that's all it is for me . . .
that's why I like the legend !
It's just fun!
By the way, I love those "messin' with Sasquatch" commercials,
and that Finding Big Foot show.                          
~~~~~~~~~~~~~~~


N E X T   O N   M Y   L I S T   T O  F I N I S H . . .  

was a sweet, little, chubby bunny !
I started this project last January !
Yes.
One year ago.
Sad but true.
She sat . . . 
unstuffed . . .
no ears
no legs
and no arms . . .
for one year !
So rude . . . I'm so sorry sweet little chubby bunny !
Well, she is now complete . . . made from an old pair of corduroy pants.
She has been mailed out to my little 3 year old niece in Florida.
She now has a happy home  !

~~~~~~~~~~~~~~~~~~~


A N D . . . C U R R E N T L Y   I ' M   W O R K I N G   ON . . .
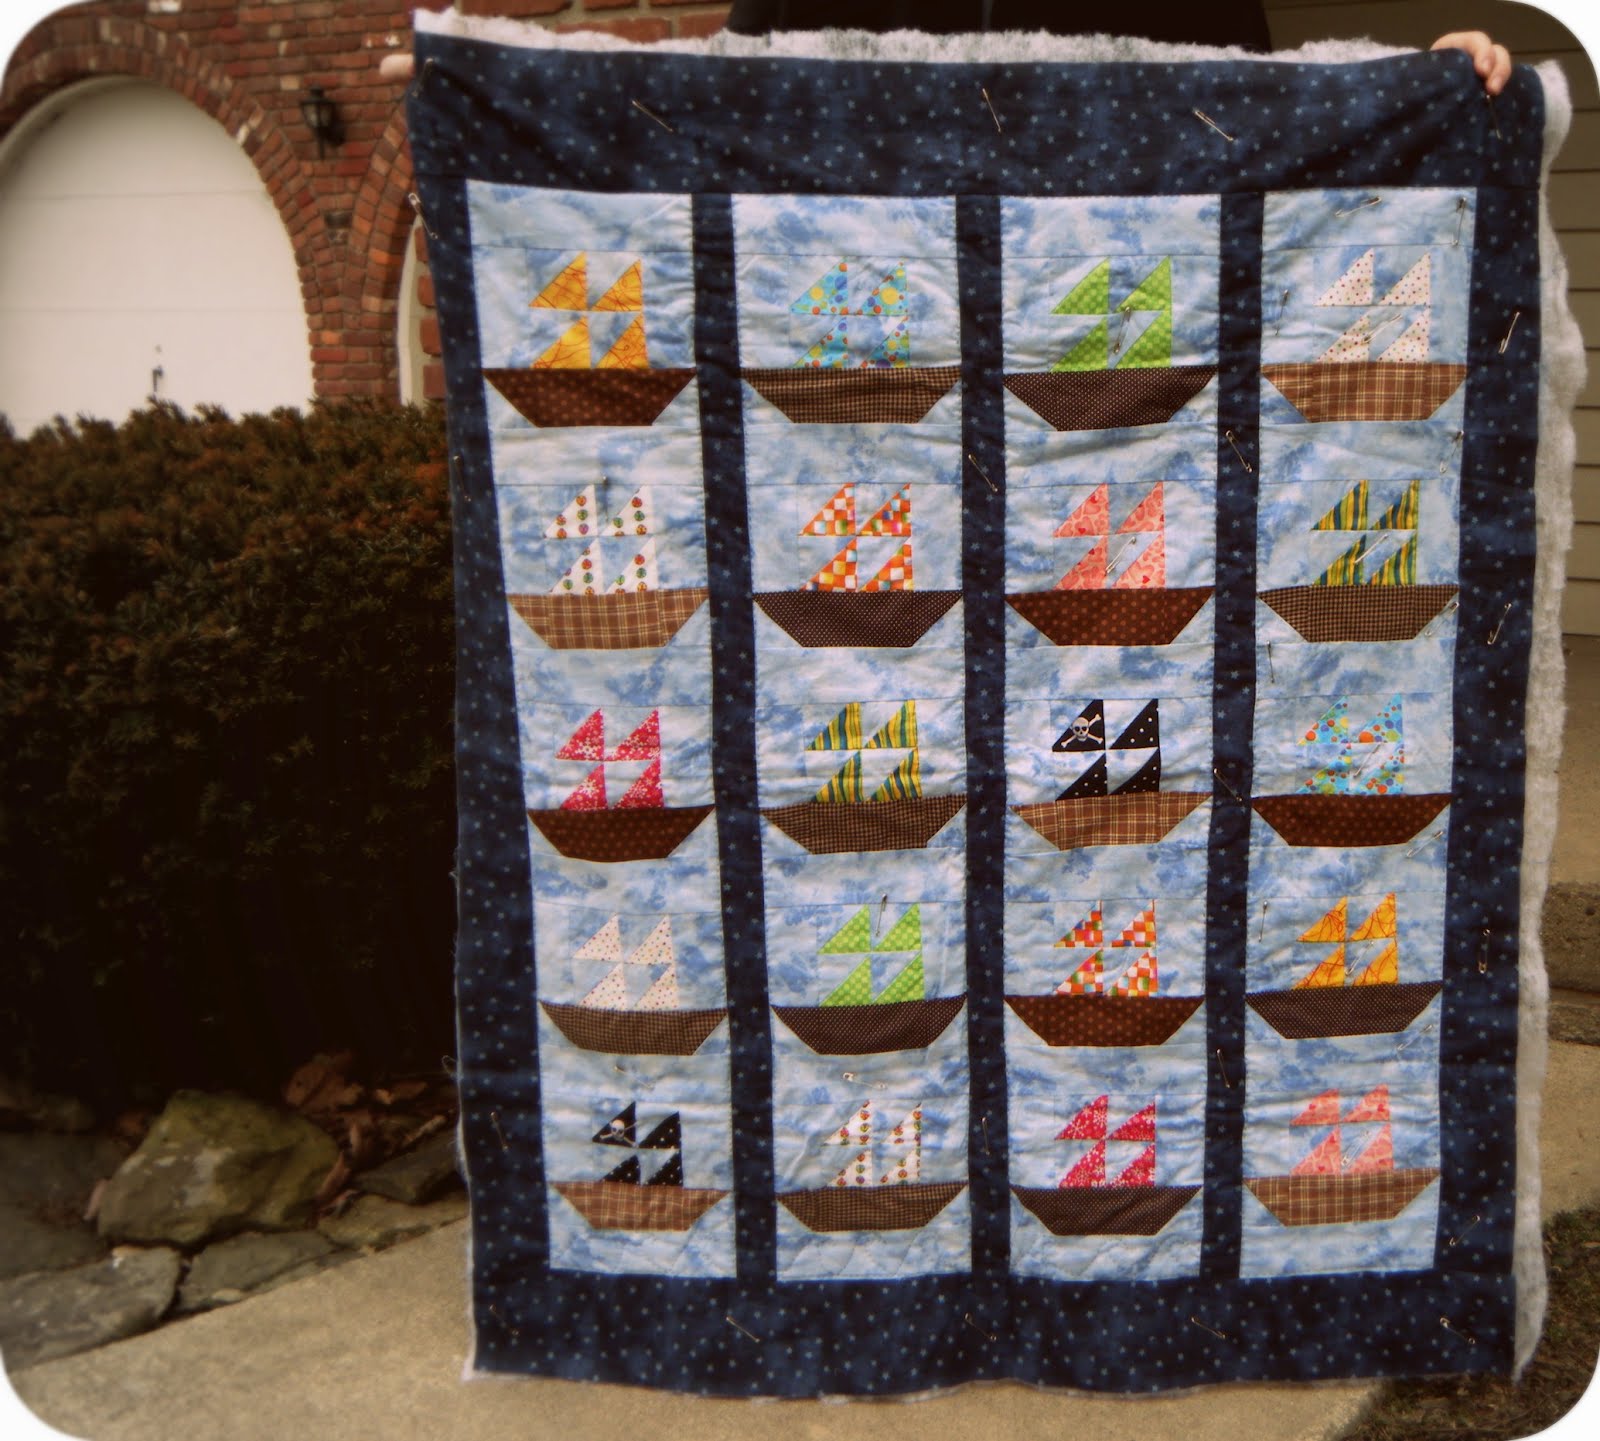
this awesome sail boat, children's quilt !

This one takes the prize for how long ago I started it ! ! 
Let's see . . .
I started this when my son Easton was 5 years old . . .
he's now 10 years old !         
Yes, he's still a children . . . a child . . .  
but, this won't quite cover a 10 year old boy.
His feet will stick out the bottom.  
His head will stick out the top . . .{ that's a good thing ! } 
However, he is still excited to see me working on it.
He says he can't wait to sleep with it.
He can definitely cuddle with it.
Heck, I've even curled in a ball and covered with it whilst napping on the couch.
I pieced this quilt on the sewing machine . . . 
and I am hand quilting.
I have machine quilted before, but I have found, that over time . . . 
the stitches have pulled snapped and broke.
Very sad.
The quilts I have hand quilted, have withstood the test of time . . . 
and even the washing machine !
However, I am not a professional machine quilter by any means . . . 
so, I am not knocking machine quilting.
I'm just knocking MY machine quilting ! 
~~~~~~~~~~~~~~~~~

November 26, 2011

Make a German Paper Star to hang on your Christmas tree!

Do not fear, the making of the German Star, young Jedi.

With the force, guide you I will.

Wise I am!


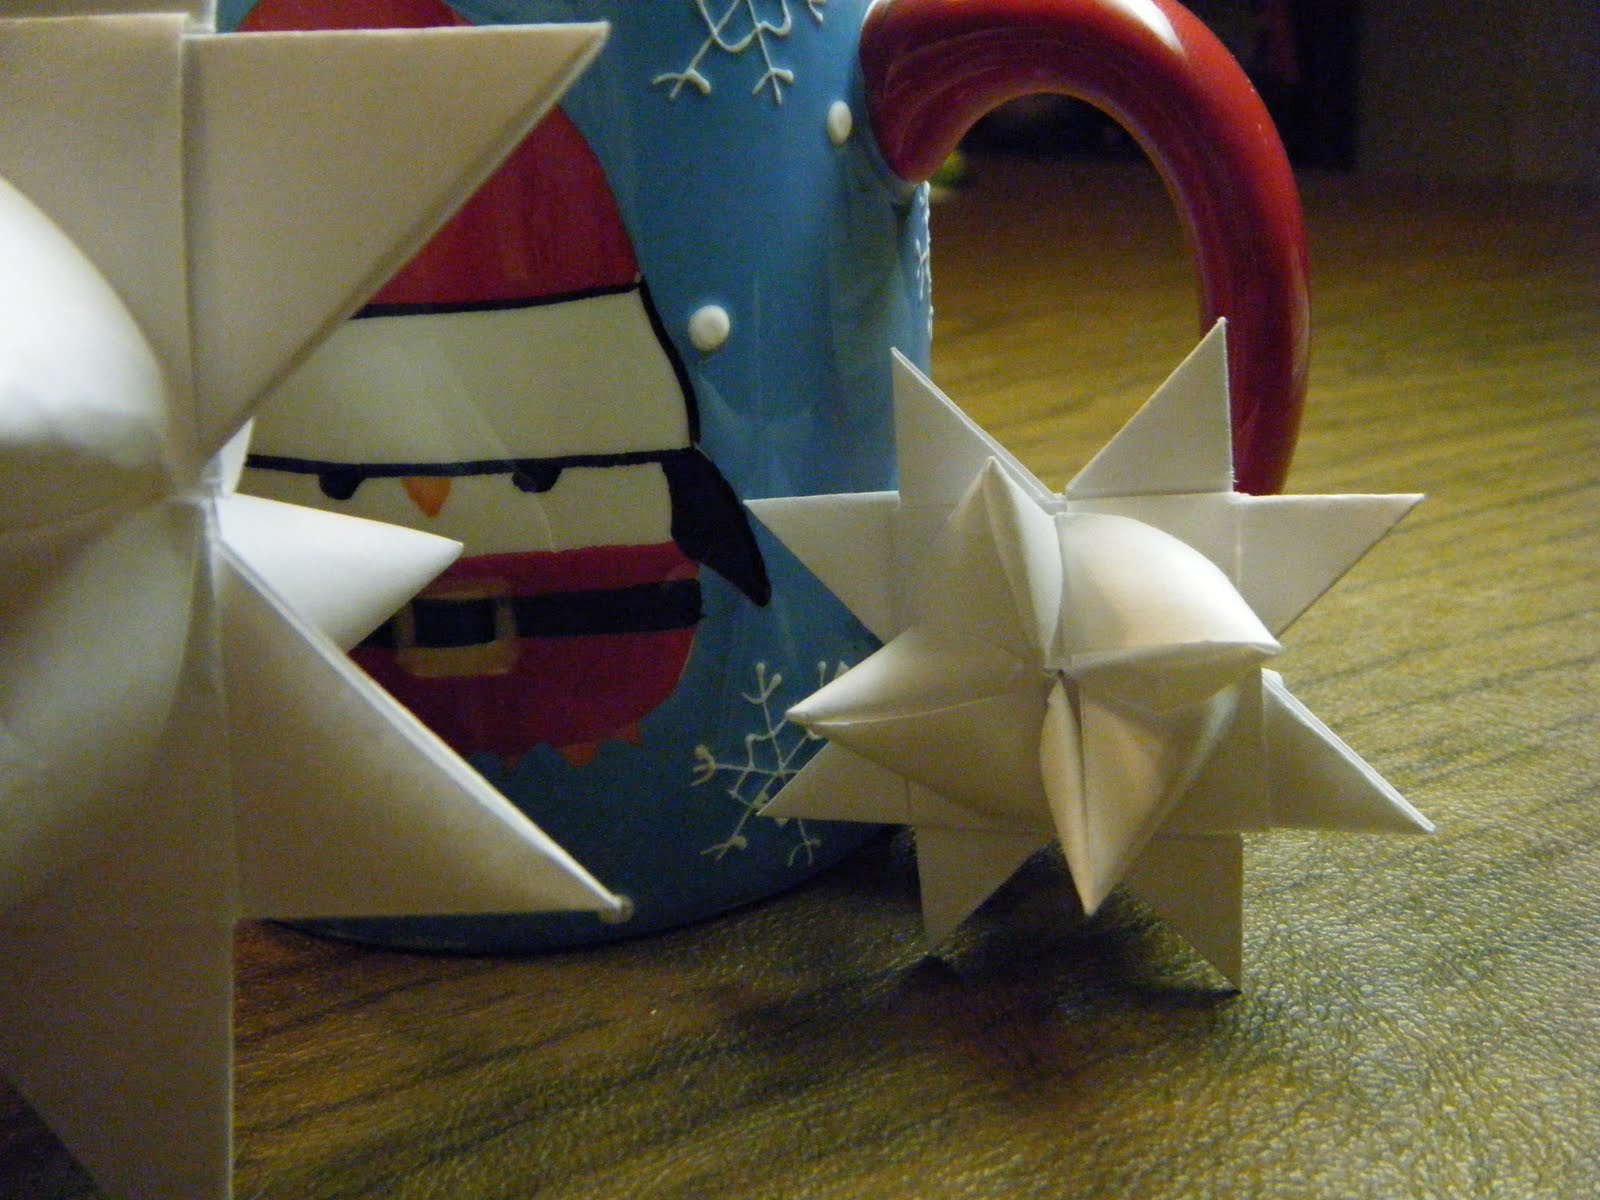
Oh yes, the classic paper German star!

Traditionally, these are hung on the Christmas tree.

Recently, I have become the master...master of disaster...I mean, master of the German Star!

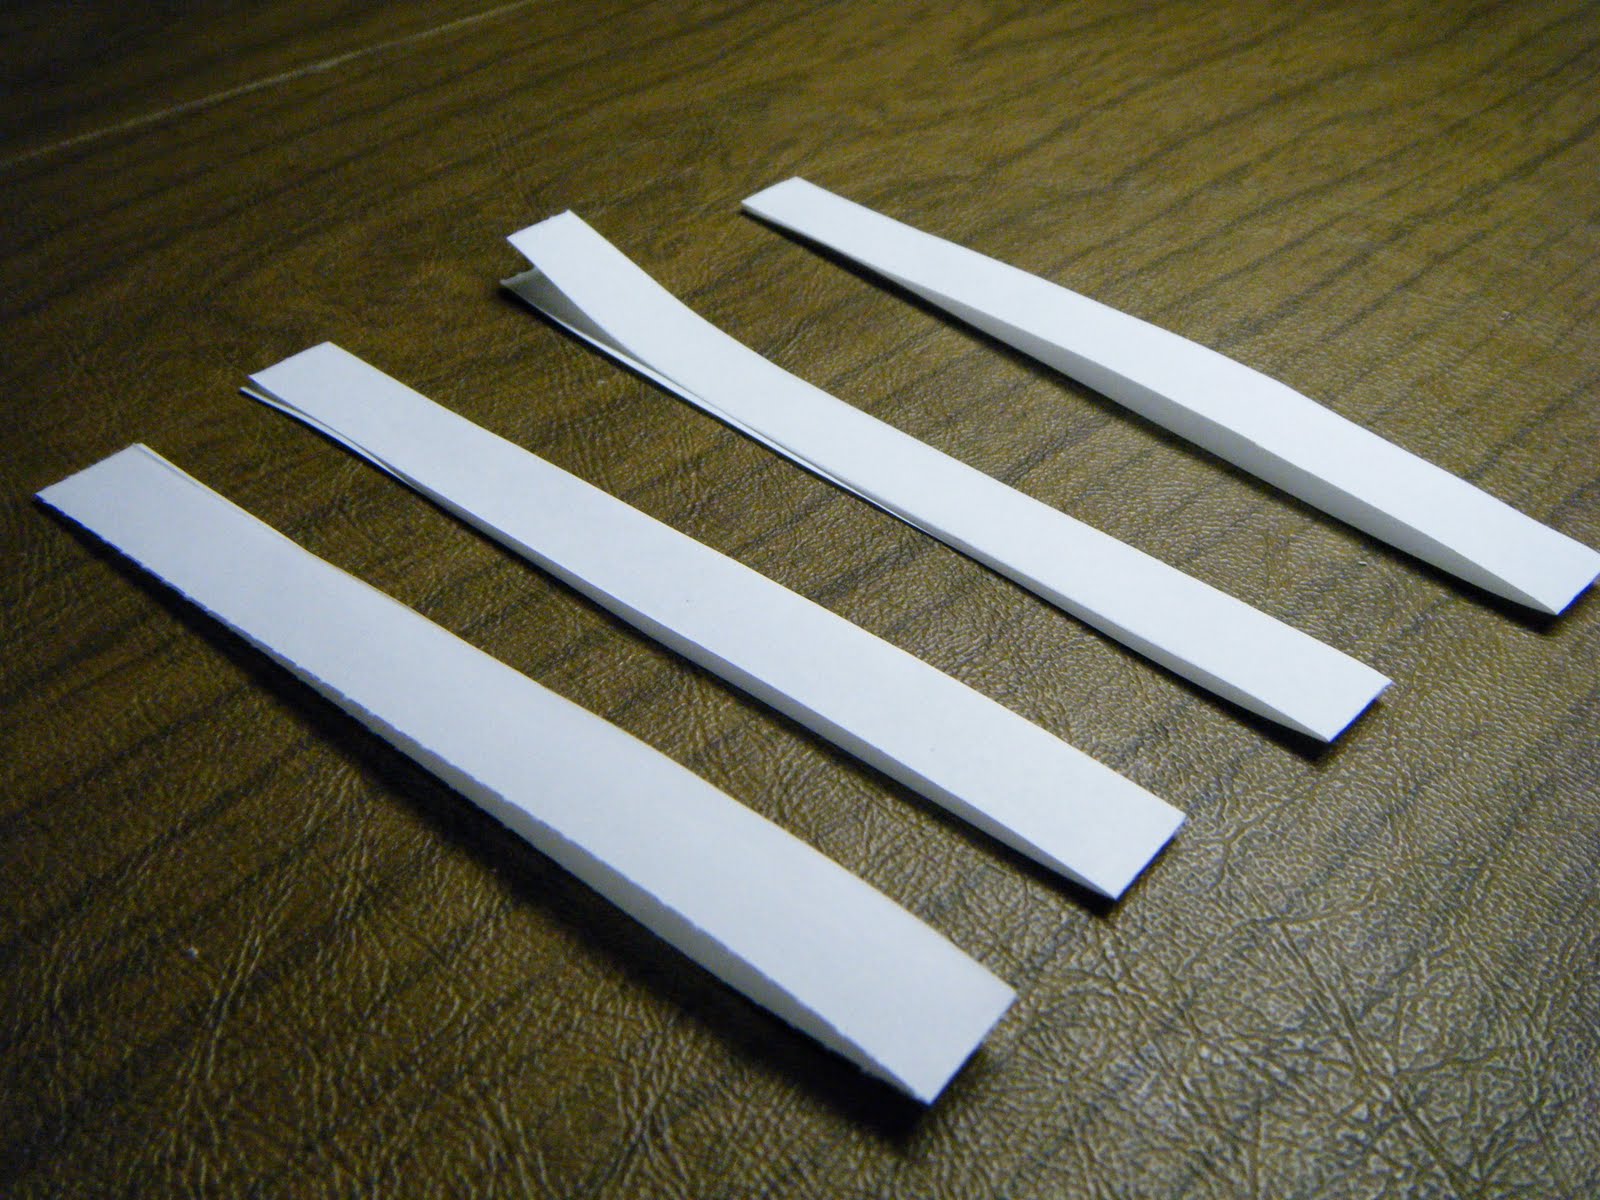
Such beauty and bewilderment created with just 4 strips of paper!

From the time I was little, I have been FASCINATED with these works of art, but I never knew how to make them.

If you'd like to try, I will guide you....step by step...photo after photo...showing you exactly what to do.

No sweat man!


Before we start, you will need 4 strips of paper. I use basic 8 1/2 in. x 11 in. computer printer paper. You can use anything you like as long as the paper is not thick and/or stiff. For the smaller star in the above photo, cut 4 strips 1/2 inch x 11 inches. For the larger star pictured above, cut 4 strips 1 inch x 11 inches. Keep your remaining paper scraps handy, we will have to lengthen our strips for the final step. In the future, you can lengthen them at the beginning, or if your paper is longer than computer printer paper that's great. Ideally, you would want about 6 extra inches tacked on to the 11 inch length. The purpose of me extending the strips later is to help you to understand that it is no big deal to extend the strips to complete the star. This will free your imagination to use pretty scrapbook paper or brown paper bags...and not to worry about the size of the paper. Just at least start with the measurements I gave you.

Step 1


Step 2


Step 3

a)


b)


Step 4


Ok, let's stop for one second. So now your project looks like this.


Ok, moving on!

Step 5


*You can trim the strip of paper if it is giving you difficulty fitting through these small spaces. I always have to do a little trimming here and there throughout.


Repeat with remaining sides.
*Tip, with the remaining sides you will now have a flap of paper in the way that you will just move aside while working and then just lay it back down when done.

Here is the flap I am talking about.


Ok, continue working your way around the star...

and now your project will look like this.


Beautiful!!!

Take a breath, relax, you're making progress!

Step 6

Lift only these 4 strips upward.


For each side, fold flap to the left, covering each point of the star.


Continue on until all points are covered.


Ok, let's stop a second...this is where we are at. Does your star look like this so far?


Ok, good! Moving on!

We now have to lengthen our strips of paper. You actually can lengthen your strips before you start. However, I did this on purpose so you will see that no matter what size you want to make your star...even if your strips of paper are too short...you can make them longer without any trouble so you can finish the job!

Take your additional strip and add some adhesive to the very end.


Attach the strip to the very end of the existing strip.


Ok, the photo below shows the extended strips of paper.


Ok folks...this is the trickiest part!!

Take your time and you will succeed! :)


Continue until your star looks like this.


Trim only the strips that you have just pulled through.


Ahhhhh, now we are making progress!

You have completed one side of the star.

This is what your star should look like at this point.


Take a breath and congratulate yourself!

You rocked it!

Now, flip the star over


and repeat steps 4 through 7

Remember step 4?? Go back and take your time, you can do it!


*Tip: any time you are feeding a strip through, it may be a bit too wide, just take your scissors and trim a teeny tiny bit of the strip and it will go through just fine. I usually run into this a few times while making these stars.


I won't walk you through the rest of the steps again...so now continue on with steps 5 through 7 and you will be done!

Finished product!


*Fun fact..I shot 204 photos for this post. Out of 204, I used only 59 photos!! Sometimes blogging is a labor of love!!

Enjoy making these stars!!