June 17, 2010

There's more to life than video games!

My husband and I have decided that as a family, we will all go without TV or video games for one month. Of course, the no video games is directed at the kids. My husband and I DO NOT play video games at all. We are allowing limited use of the computer...but NO games on the computer. The kids can look up "how to" stuff, or research whatever interests them. Of course, we need our email. My husband is a Den Leader for Cub Scouts and my older son is in Boy Scouts. And...we are still allowing Facebook and blogging. I am trying to keep most of my blogging to the hours when the kids are in bed.


Of course, the NO video game thing makes our two boys, ages 12 and 8, very sad! They have known for some time now, that it was going to happen. We decided our month would be during the summer running from June 15th through July 15th. I'm sure you can guess why we are doing this. We want our kids to stop depending on video games for their entertainment. They love video games and we have always restricted them on their use anyhow. But, when they are asked to turn off the video games, they act as if it's the end of the world, and there is nothing else to do! This is absolutely ridiculous! They will sulk around and complain of boredom until they are aloud to play video games again. Well, we have had it! Enough is enough. I keep telling them, there is more to life than video games! So now, we are showing them.

I want them to know that they can entertain themselves like we did when we were kids. And...if they get bored, well....oh well...they get bored....go outside, lay in the grass and look up at the clouds. Before you know it, you'll actually find that looking at clouds is quite enjoyable!
We are on day 3 of this experiment and so far we have:
played in the creek behind our house
went to the park and played on the monkey bars and swings
played freeze dance with the radio..(radio on, dance..radio off, freeze)
the game Battleship
the game Sorry
painted a skull and cross bone flag for the tree house


played with the Rubik's cube
washed dishes with Daddy
played hangman
read science and experiment type of books


did word searches
designed a cruise ship
designed a vehicle


hit some golf balls around the yard
walked one mile through the neighborhood each day
target practice with a b. b. gun with their father supervising them
super glued a broken Rubik's cube into a complete non-moving Rubik's cube
listened to the radio lots
played the clarinet, just for fun, not just to practice like usual


Well, as you can see, they have found plenty to do. We've had to give them suggestions and ideas though. I won't lie to you, it hasn't been easy!! My oldest has been whining about wanting to play video games or to just watch TV for just an hour.

This afternoon, while dinner was cooking, I showed my boys how to play jacks.
These jacks are mine and my sisters from when we were kids...


So they are the GOOD old fashioned jacks...


not those giant plastic jacks with the over sized rubber balls.
You can't even PLAY jacks with those new jacks!
No wonder kids don't know how to play with them, it is impossible!
I just don't get it!
Who in the WORLD design the new jacks and WHY!?!

So...we have many more ideas in mind for the summer:
-go to the driving range
-miniature golf
-public library
-picnic in the tree house
-go to more parks
-go tubing on the Clarion River
-go to the pool
-some cool craft projects (making chess pieces out of things found in nature)
-build a jig saw puzzle
-go camping
-bake cookies
-lay in the grass and look up at the clouds
-read more
-go get an ice cream cone
-go to the drive-in theatre

By the way, we have that book THE DANGEROUS BOOK FOR BOYS and we are getting some great ideas from that as well. Now...I want to check at the library for THE DANGEROUS BOOK FOR GIRLS. I've seen it before, but never looked it over.

If you've got some great ideas, I'd love to hear from you!!

P.S. I also wanted to mention..this experiment has made me and my husband spend a lot more quality time with our boys. I mean, we are always here with them, but a lot of the time they would be doing their thing and we would be doing our thing. It is really true what they say about the TV and the video games being a baby sitter. More so than you realize, when it is gone. Now...pretty much everything that they do, we have to inspire them to do it...give them suggestions...show them how...supervise an activity...stuff like that. Which...is A GOOD THING!! Now, of course, they aren't relying on us to be with them at ALL times..they do play by themselves or together, but now we are spending at least 50% more time with them doing these activities, if not 75% more time. After all, what is the one thing that children want from you anyhow...your time and attention. In the end, we will all be better for it!

P.S.S. It may sound like my husband and I have all this time to do nothing but hang out with the kids..well, that is not true. My husband works 12 hour days on an alternating schedule of 3 days one week and then 4 days the next week. I also work part time 2 evenings a week. Not to mention the usual chores we sorta split: house work, laundry, cooking meals, cutting the grass, grocery shopping and what not.

June 15, 2010

Cherry Freezer Jam

Yesterday, I was feeling kinda blah, so I forced myself to get off my butt and do something! I knew I needed to get my fresh, sour cherries made into jam...and SOON, before they got all mushy and yucky.

The first thing I needed to do was learn how to pit the cherries. On the Internet, I learned a couple of different ways. One, of course, was to cut them open with a knife and pull out the pit with your fingers. OK, that will take forever! The other way, involved using an opened paper clip as a tool...insert it into the top of the cherry next to the stem, swoop in and pull out the pit, stem and all. I had my doubts...but holy cow!! It worked like a charm!!


I was able to pit the cherries in no time!

I don't ever remember tasting freshly made cherry jam before, so I am very excited to try it!


Here is the finished product.


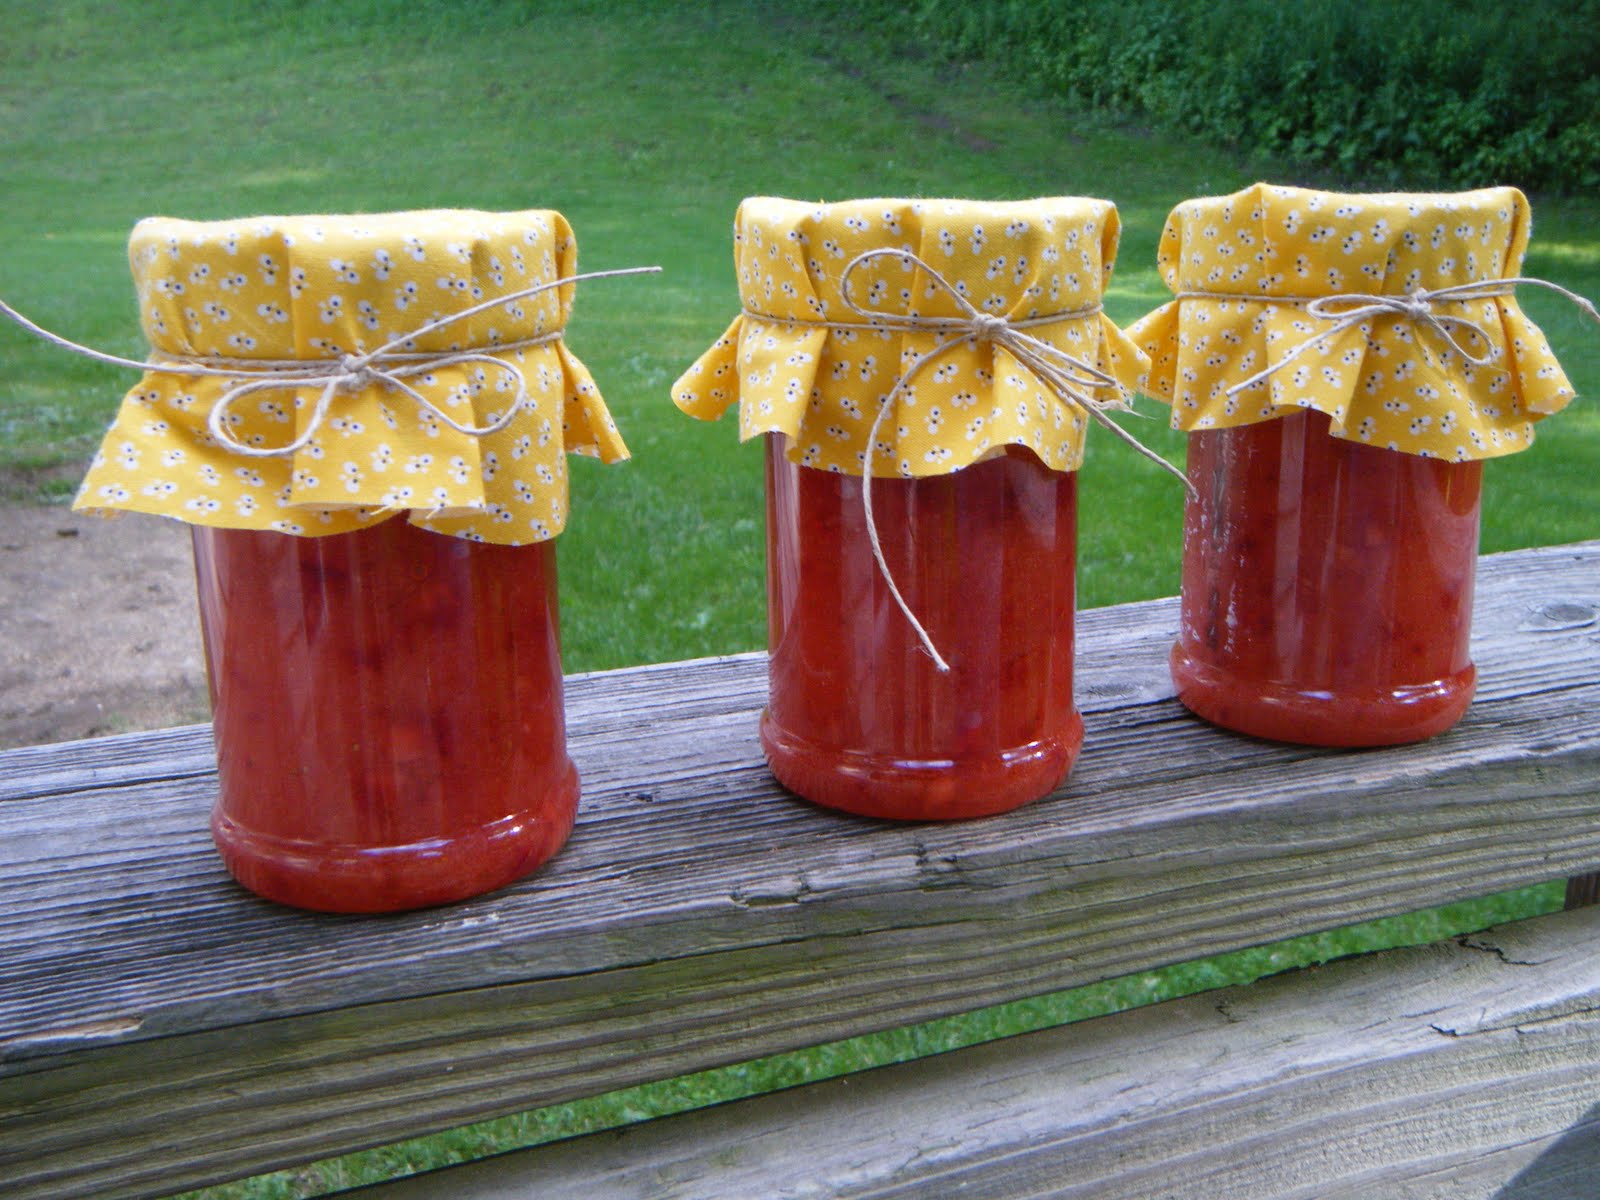
And here is the finished product with some fancy, dancy vintage fabric on top!


I am a sucker for reproduction vintage fabric...
and I am a sucker for jelly jars gussied up with vintage fabric!


UPDATE: I tried the cherry jam on a piece of white bread with butter, and...it was fantastic! I am so glad I gave this recipe a try.

June 12, 2010

sour cherries


It's a Saturday in May, which means...farmer's market. It's one of my favorite places to go! It's a little early in the summer, so not too many things ready yet. Lots of lettuces, onions, spinach, radishes. Also, two of my favorite are in season...strawberries and cherries. Well, I bought strawberries a few days ago and made jam. I bought cherries today. Needless to say, my next adventure.....cherry freezer jam!


This will be my first time ever making cherry freezer jam. The recipe inside the SURE JELL box calls for sour cherries, and that's exactly what I bought. If time allows, I am hoping to make the jam tomorrow. I think I can fit it in!! I'll let ya know how it goes.

Happy Birthday Everest

happy birthday to my son Everest!
12 years old.
had a small party.
hot dogs on the grill.
Doritos.
cake.


splashed around in the creek.


dollar store smoke bombs.


kids had so much fun!
it doesn't take a lot of fancy stuff
or lots of money
to have a great time.
it was actually the easiest
and one of the most enjoyable birthday parties
I've had for my kids.

June 10, 2010

Today was completely rain free and I was loving it. However...yesterday...it rained all day long! It was a perfect day to make freezer jam from fresh locally grown strawberries.


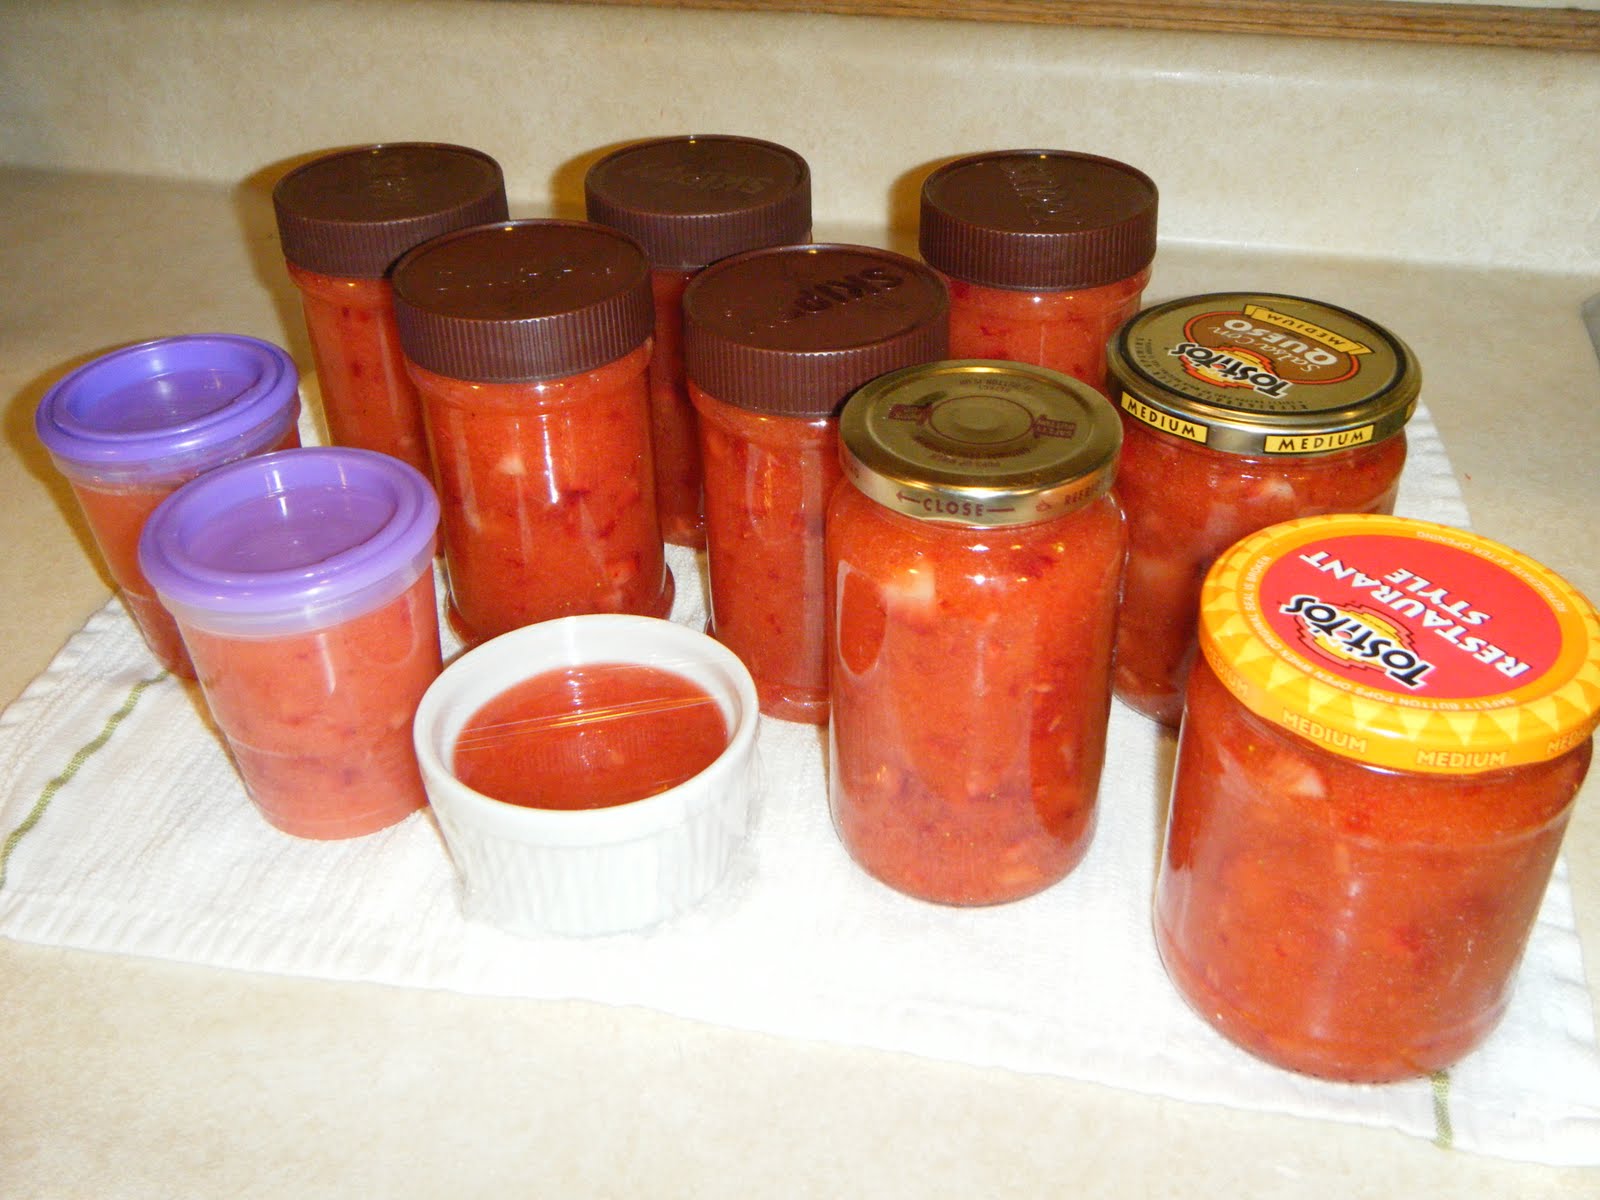
I purchased three containers of strawberries at $4.00 a double pint. I have been saving empty peanut butter jars and salsa jars for months, so I was definitely prepared.


My friend Becky taught me that one. The first time I made freezer jam was at her house. She brought out this mixture of saved jars for our jam. I didn't know you could do that. I guess it seems obvious now, but I always thought you had to use those nice perfect canning jars. But, since you are freezing the jam, you don't have to have the canning lids that need to be sucked down when sealed. That's the one thing I love about making freezer jam, I don't have to worry about sterilizing the jars and making sure everything you use is sterile. This is just way more relaxing!


My jars of jam were looking a little plain, so I decided to get out my quilting fabric and find some great vintage-looking pieces. This makes me think of Little House on The Prairie. I can just see these jars of jam for sale at Mrs. Olson's store!


I had my first taste of my strawberry jam this afternoon! Oh my goodness!! It was absolutely delicious!! I toasted a slice of Italian bread...smeared it with lots of butter... and added a heaping spoonful of strawberry jam! It was pure heaven! The taste of the fresh strawberries really shines through! There is no comparing homemade jam to store bought jam. Homemade is just a thousand times better!

If you would like to try your hand at making strawberry freezer jam, you can follow this recipe below....or you can buy a box of SURE JEL and follow the directions inside the box for FREEZER JAM. It is the exact recipe I used. You will need 1 box of SURE JEL per recipe. One recipe uses 2 pints strawberries.

Recipe for strawberry freezer jam
In a large mixing bowl, crush 2 pints strawberries with a potato masher. This will yield approx. 2 cups crushed berries. Add 4 cups granulated sugar to berries and stir. Leave mixture to sit for 10 minutes.

Empty 1 box SURE JEL into a small pot. Add 3/4 cup water to pot. Mix over med. high heat until boiling. Once boiling, set your timer and continue to boil and stir for exactly 1 minute. After 1 minute, immediately remove from heat and pour into berries. Stir into the berries for 3 minutes.

Using a canning funnel and a ladle, immediately ladle jam into jars leaving 1/2 inch space at top of jar allowing for expansion during freezing. Fasten lid on jars and leave to sit on counter top at room temperature for 24 hours to allow time to set. After 24 hours, freeze jars of jam. Or, you can refrigerate jam for up to 3 weeks. Only put in your fridge what you plan to eat within that time.