
Do not fear, the making of the German Star, young Jedi.
With the force, guide you I will.
Wise I am!

Oh yes, the classic paper German star!
Traditionally, these are hung on the Christmas tree.
Recently, I have become the master...master of disaster...I mean, master of the German Star!
Such beauty and bewilderment created with just 4 strips of paper!
From the time I was little, I have been FASCINATED with these works of art, but I never knew how to make them.
If you'd like to try, I will guide you....step by step...photo after photo...showing you exactly what to do.
No sweat man!
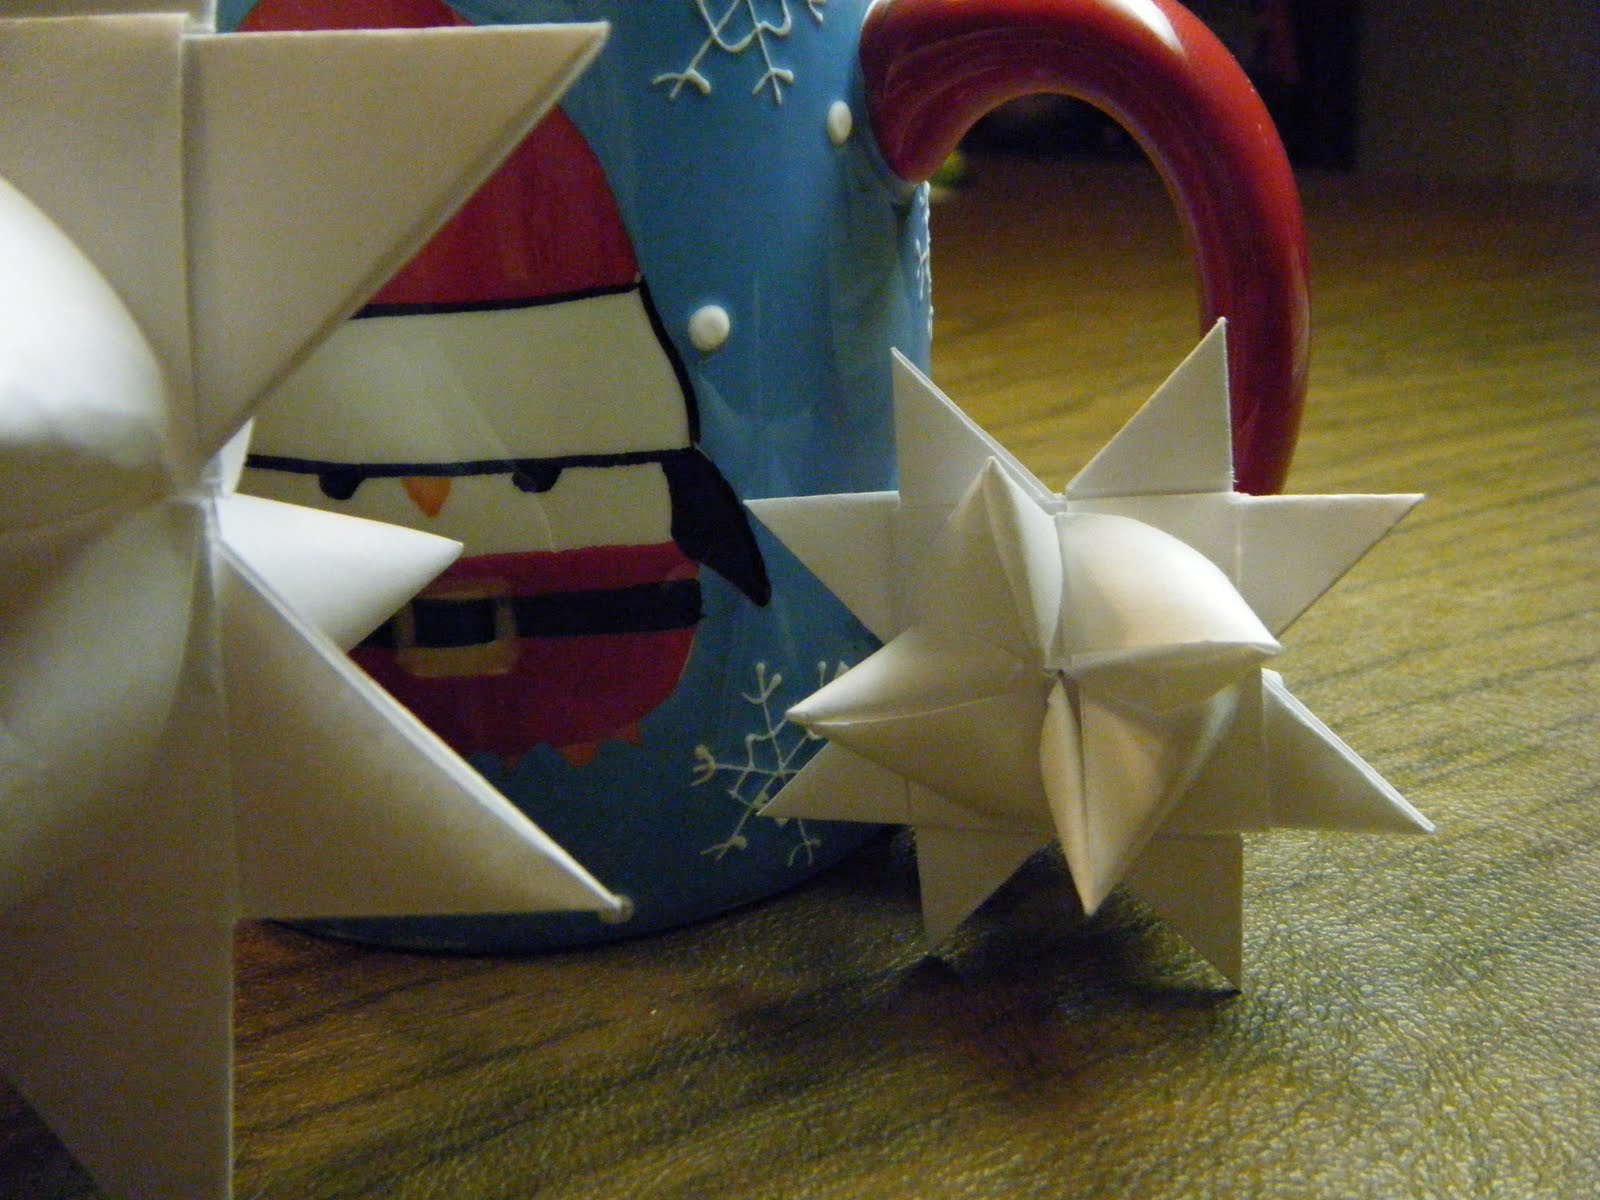
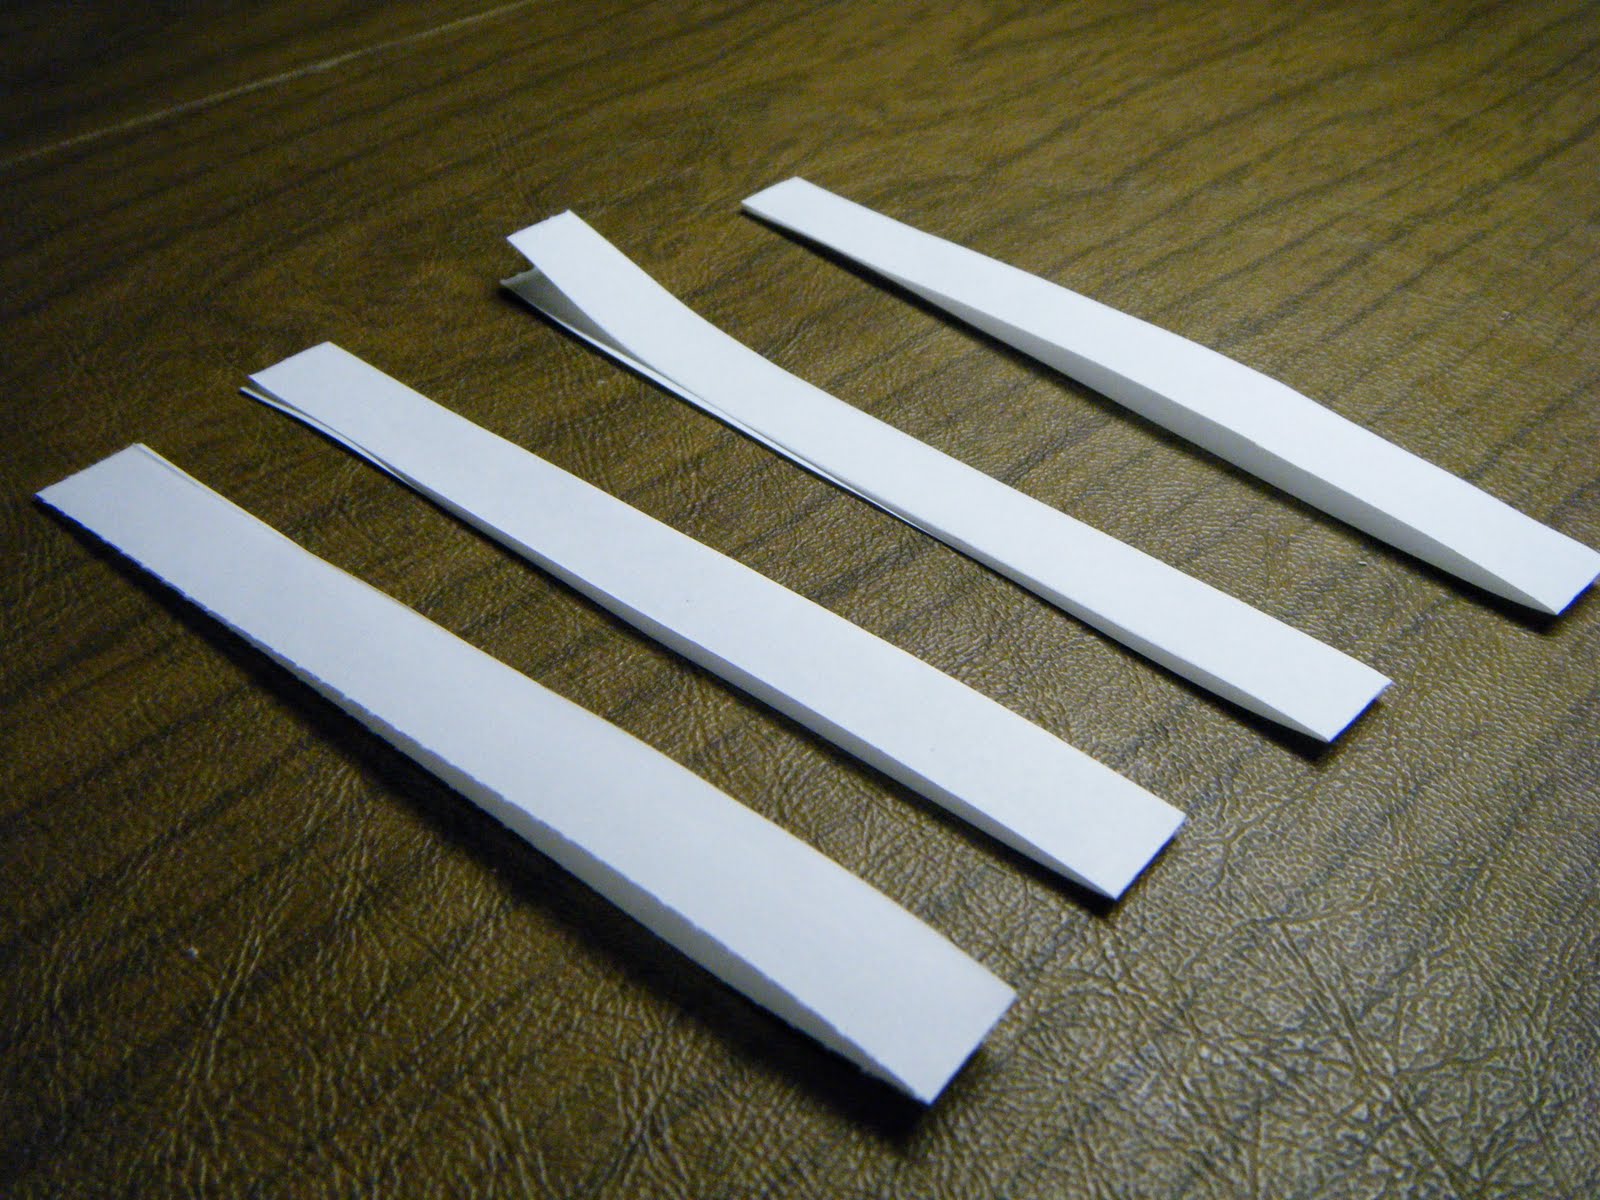
Before we start, you will need 4 strips of paper. I use basic 8 1/2 in. x 11 in. computer printer paper. You can use anything you like as long as the paper is not thick and/or stiff. For the smaller star in the above photo, cut 4 strips 1/2 inch x 11 inches. For the larger star pictured above, cut 4 strips 1 inch x 11 inches. Keep your remaining paper scraps handy, we will have to lengthen our strips for the final step. In the future, you can lengthen them at the beginning, or if your paper is longer than computer printer paper that's great. Ideally, you would want about 6 extra inches tacked on to the 11 inch length. The purpose of me extending the strips later is to help you to understand that it is no big deal to extend the strips to complete the star. This will free your imagination to use pretty scrapbook paper or brown paper bags...and not to worry about the size of the paper. Just at least start with the measurements I gave you.
Step 1

Step 2
Step 3
a)

b)

Step 4


Ok, let's stop for one second. So now your project looks like this.

Ok, moving on!
Step 5


*You can trim the strip of paper if it is giving you difficulty fitting through these small spaces. I always have to do a little trimming here and there throughout.


Repeat with remaining sides.
*Tip, with the remaining sides you will now have a flap of paper in the way that you will just move aside while working and then just lay it back down when done.
Here is the flap I am talking about.


Ok, continue working your way around the star...
and now your project will look like this.

Beautiful!!!
Take a breath, relax, you're making progress!
Step 6
Lift only these 4 strips upward.

For each side, fold flap to the left, covering each point of the star.

Continue on until all points are covered.

Ok, let's stop a second...this is where we are at. Does your star look like this so far?

Ok, good! Moving on!
We now have to lengthen our strips of paper. You actually can lengthen your strips before you start. However, I did this on purpose so you will see that no matter what size you want to make your star...even if your strips of paper are too short...you can make them longer without any trouble so you can finish the job!
Take your additional strip and add some adhesive to the very end.

Attach the strip to the very end of the existing strip.


Ok, the photo below shows the extended strips of paper.

Ok folks...this is the trickiest part!!
Take your time and you will succeed! :)


Continue until your star looks like this.

Trim only the strips that you have just pulled through.

Ahhhhh, now we are making progress!
You have completed one side of the star.
This is what your star should look like at this point.

Take a breath and congratulate yourself!
You rocked it!
Now, flip the star over

and repeat steps 4 through 7
Remember step 4?? Go back and take your time, you can do it!


*Tip: any time you are feeding a strip through, it may be a bit too wide, just take your scissors and trim a teeny tiny bit of the strip and it will go through just fine. I usually run into this a few times while making these stars.


I won't walk you through the rest of the steps again...so now continue on with steps 5 through 7 and you will be done!
Finished product!


*Fun fact..I shot 204 photos for this post. Out of 204, I used only 59 photos!! Sometimes blogging is a labor of love!!
Enjoy making these stars!!